Introduction
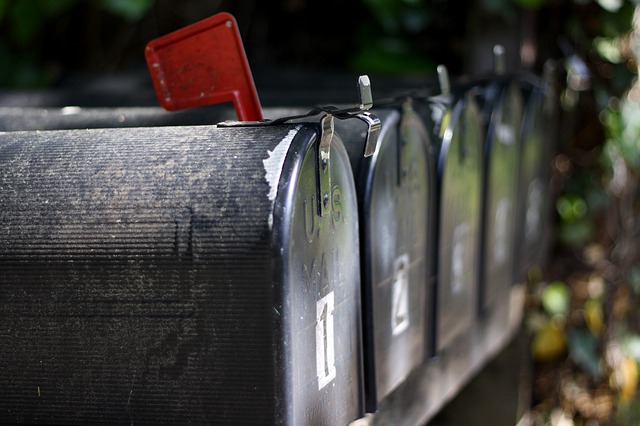
In this article, I will explain how I monitor my mailbox to get notified when the postman came.
This is currently a work in progress since I am missing another sensor. to detect when the mailbox has been emptied
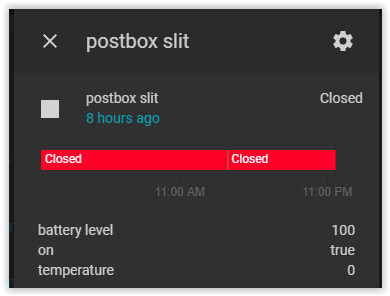
I am using a ZigBee door/window sensor to monitor if the postbox slit has been opened. The challenge here is to have a stable ZigBee network up to the front roadside since only the devices connected to mains act as a router/repeater (since battery-powered devices don’t help to maintain the mesh). So in order to have a stable network across the house, I had to buy some additional components. (Across the house because I have other battery-powered ZigBee devices). The good thing though is the more devices you have the more stable your mesh is. So if you should replace all your “dumb” light bulbs by smart ones well that would create a nice mesh.
My setup
For my setup I used 6 OSRAM smart+ Plugs and 2 Ikea TRÅDFRI Signal repeaters in order to have a stable mesh, a Phoscon Conbee II stick as main gateway and deConz add-on running on Home Assistant. This setup is specific to my home and you might need fewer devices. You can also use Ikea smart bulbs, they also act as a repeater.
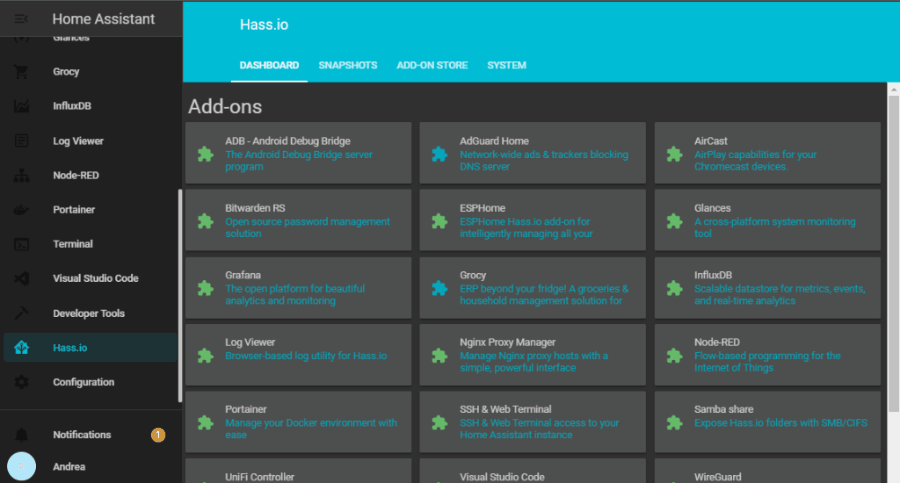
Installing deConz


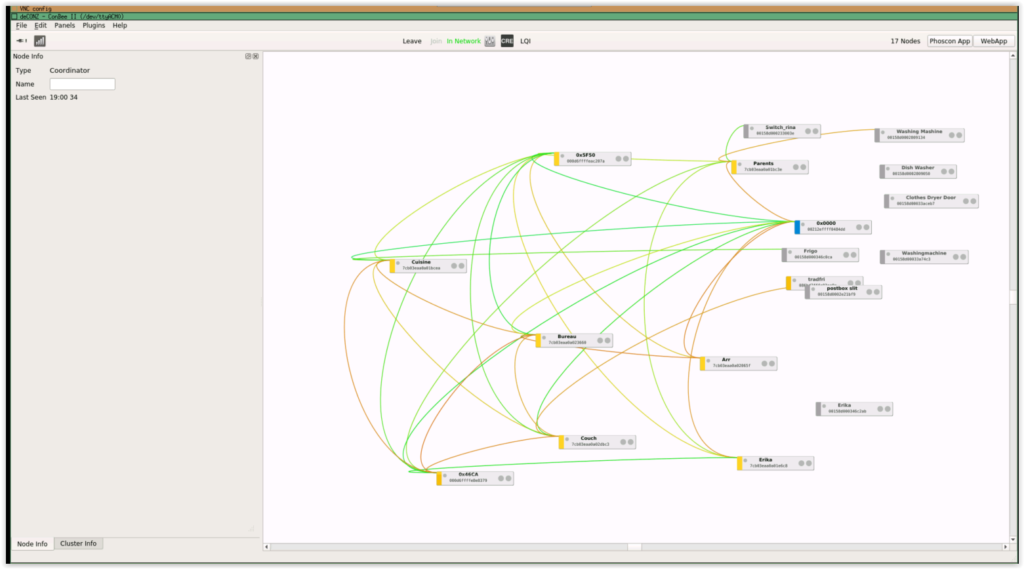
Since I am using Hass.io the install is straightforward. DeConz can be found among the community add-ons and you will be able to find instructions here: https://github.com/home-assistant/hassio-addons/tree/master/deconz. You should enable VNC access in order to see how well your connections are and how healthy your mesh is. You can download VNC here: https://www.realvnc.com/en/connect/download/viewer
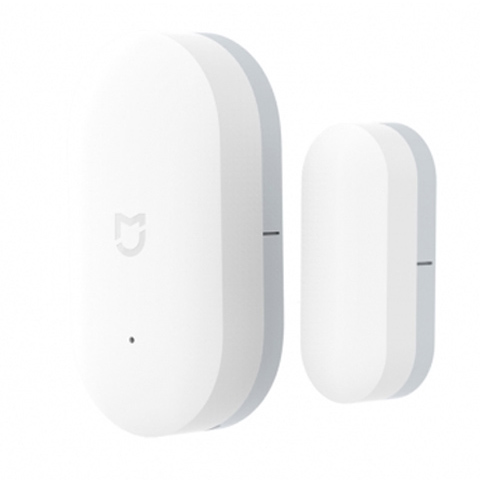
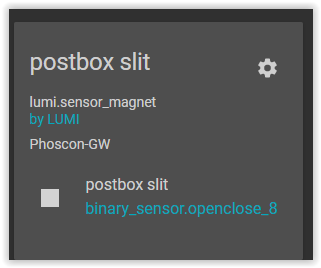
Once the add-on is up and running open the web UI and start adding your devices. I used the fairly cheap Xiaomi Door/window sensors for my mailbox which should retail around 11$
Adding devices in deConz
In order to add a device you have to set the conbee gateway in pairing mode. To do so, go to your add-on and open the web-UI, connect to the gateway, open the menu, go to devices > sensors an click on “add new sensor”
The gateway will be in pairing mode for 3 minutes. That should give you enough time to add your sensor. Grab your Window sensor, find the hole and use a paperclip to push the button inside. Keep it pushed for around 3-5 seconds until the light blinks. Release the button. The sensor will now try to pair with the gateway (this should be quite fast). If your gateway is unable to find your sensor, you might have to get closer to it. Here is where the vnc access might come in handy.
Adding the Integration in Home Assitant
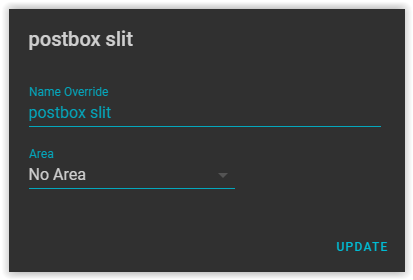
In order to get the state of the sensor in Home Assistant, you have to add the deConz integration. In Home Assistant go to Configuration > Integrations, deConz should appear on top among the discovered integrations. Configure it and you are good to go. The gateway should now appear on the list of configured integrations. Click on the gateway. The sensor will be listed among other devices you have previously added in deConz. Here you can configure the area the name
Getting the notifications
I will show 3 ways how to implement notification automations, YAML mode, GUI and finally Node-Red In my case, I currently notify 2 phones and add a persistent notification in Home Assistant whenever the mailbox slot is opened. In a second phase, I will add another sensor in order to check whether the mailbox has been emptied and if so dismiss the notification.
YAML mode
If you are using yaml mode, I assume you know your way around those files, Add this to the automaton.yaml and change the devices you want to notify.
GUI Mode
This only works if you don’t use split configurations, since it will save the created automation in /config/automations.yaml
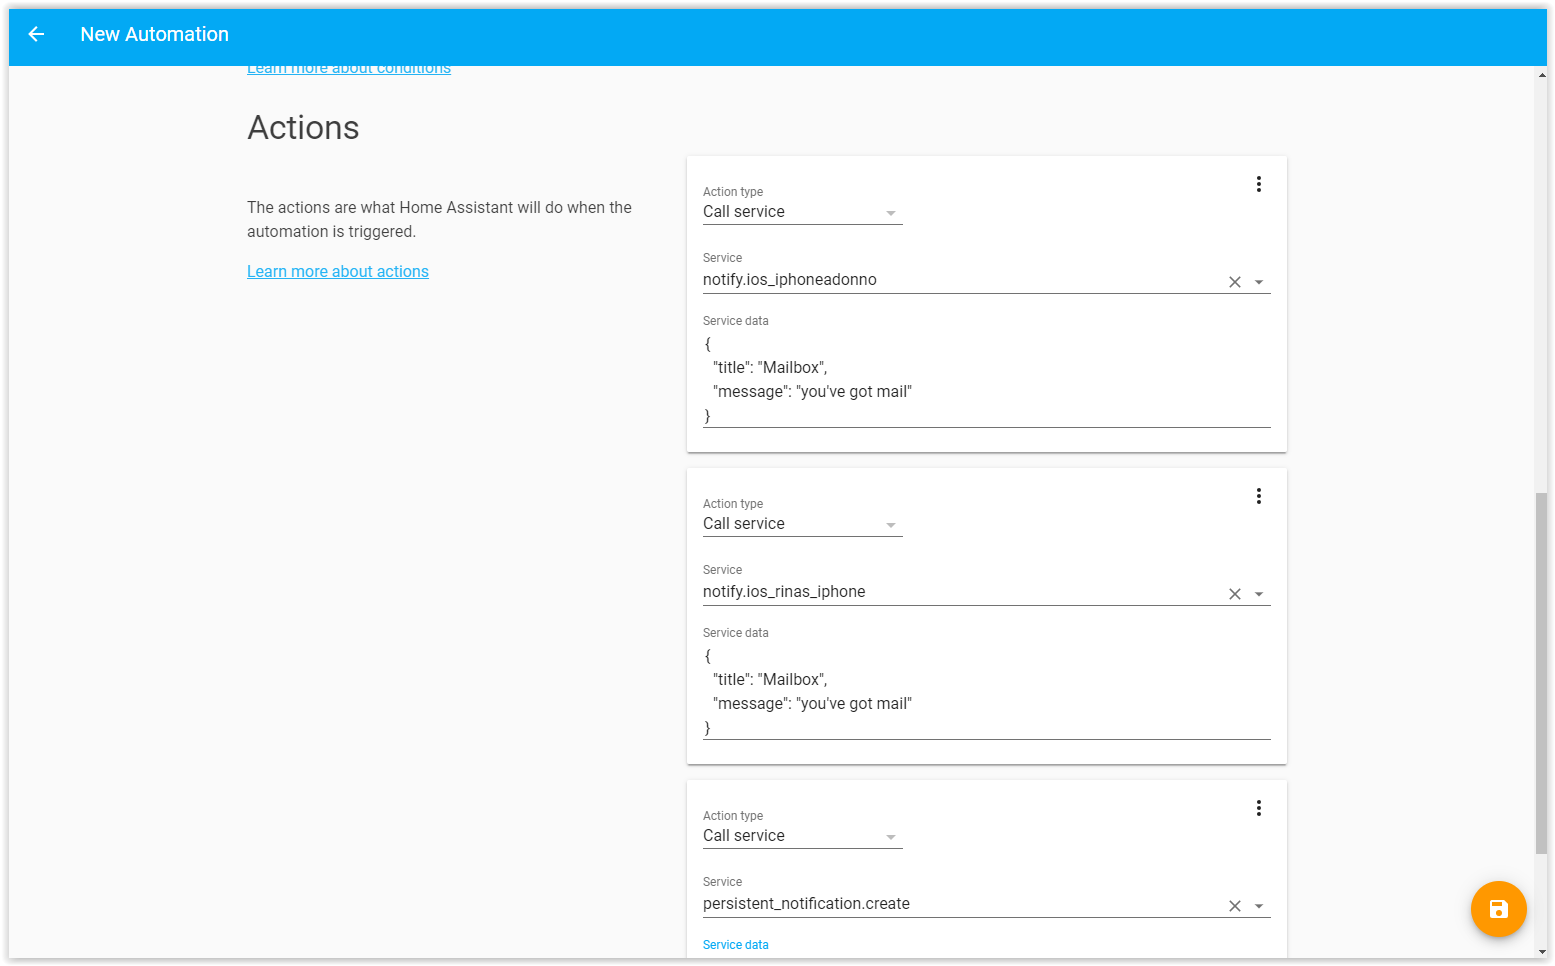
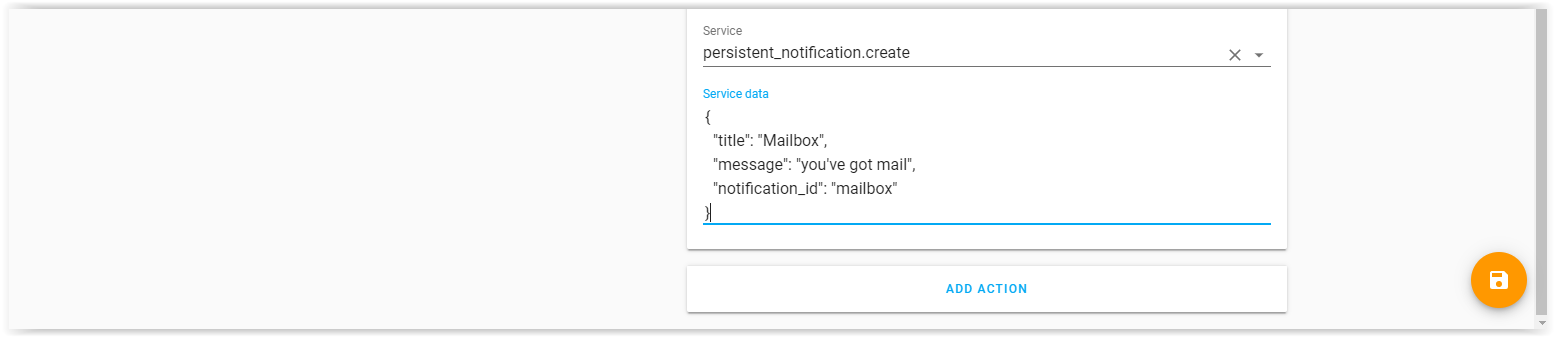
In Home Assistant, go to Configuration > Automation > an click on the yellow plus sign. A “new automation” window will open.

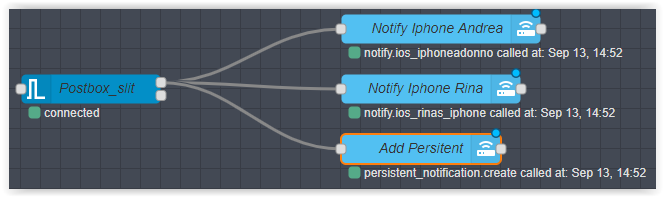
Node-RED
I’ve added this bit for the one amongst you who prefer to work with Node-RED. (looking at you mister Bonani 😉 ) This is also a good opportunity for me to try to understand that stuff and learn something new.
Last words
So now you know how to create a nice notification when your mailman comes by. As I already mentioned this is a work in progress and I will have to buy a second sensor and add it in order to view when the mailbox has been emptied. Regarding the Zigbee sensors, I am not sure, but I’ve had issues when I set them up in my office and then moved them on location. So now I go on location with my laptop, set the gateway in pairing mode and then add the Zigbee device to ensure it will have the right connection. This might seem a bit of a hassle but it works for me and it allows me to make sure the connection works form the start.
One thing I personally don’t like is that deConz recognizes Smart plugs as lights. This might not be a big issue but I have a “goodnight” script that switches off the light domain in Home Assistant (all the lights get switched off). This means I cannot connect critical devices to these plugs. I hope there will be an update at some point that fixes this.
Disclaimer
I use affiliate links in this article, that will earn me a small affiliate commission for any purchase you make when you’ve used any of those links. Please note, that the price of those products and services do not change because of this and are exactly the same as if you haven’t used these links.
If you liked this article, do not hesitate to share it
I run mostly on coffee so, if you enjoy my work, and if you would like to support me you can buy me a coffee

1 thought on “Mailbox monitor with Zigbee”